Revised, better, simpler, faster
way to work with
Black & White negatives in Darktable
During a couple of development / scanning cycles I’ve been less than satisfied with the result from my scans - so I started to revise my Darktable methods.
With the help of an AI-agent, yes I use AI when it feels relevant, I found a procedure that seems to render a lot better results than my previous.
The method described in Black and White negatives in Darktable just isn’t up to par!
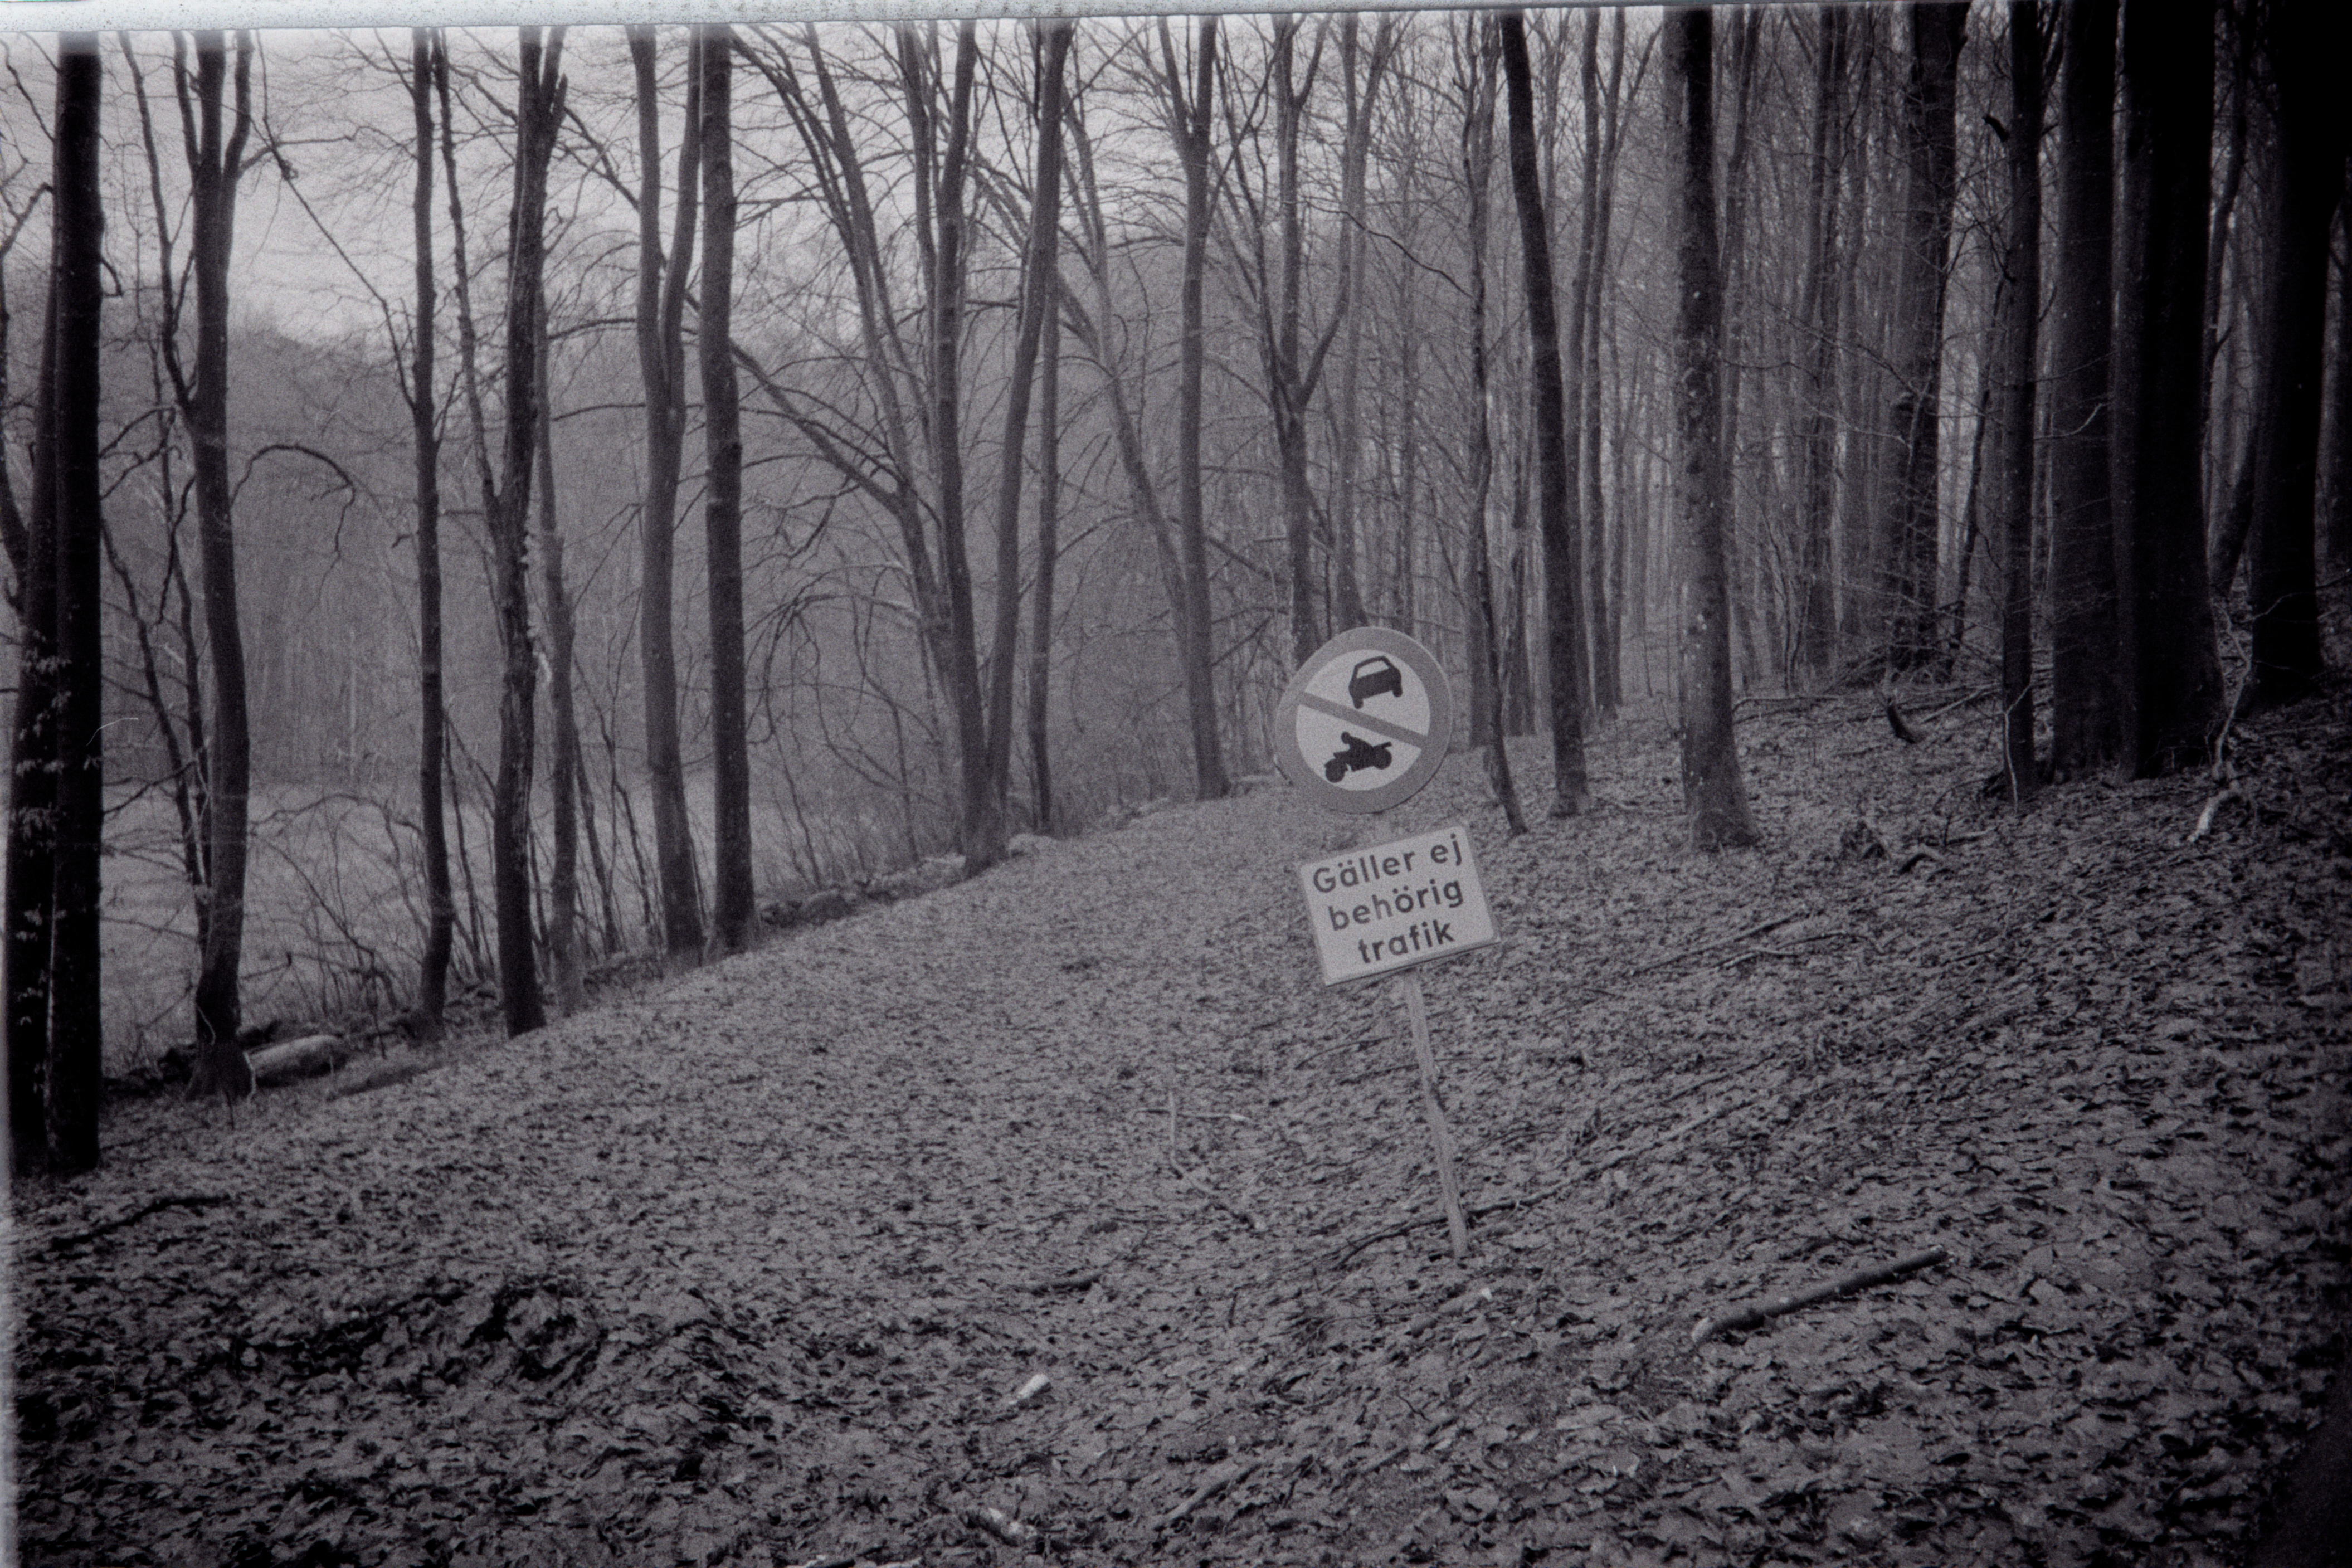

Here is a comparison of the same negative and scan processed with two different work-flows. The first one (the more purple/red one) is the old way, the secound (more black and white) is the new way.
As you can see the new method results in a lot more punch and contrast - I have not done anything but apply my template to the image, I know it could use some tweaking but thats not what this post is about.
The new way
This is what I do
You need:
- A photo of your light source without any negative in front - for white balance
- A piece of unexposed negative (like the part around the holes or the end-piece)
- At least one photo (exposed negative) to process, and use for the template
One time setup
First we need to disable some of darktable’s automatic features.
- Search for the module “exposure” (in the module-list on the right) and turn it off (the “power” icon)
- do the same for “color calibration”
- lastly do the same for “sigmoid”
Now, if you don’t want to do this every time you can save it as a “style” by clicking the Very small icon at the bottom-right of the history-panel, looks like three rings.
After that you can apply the style to all selected images in the lighttable-view via the styles panel on the right side - or at the image your working on by the same icon but att the bottom left of the image.
Presets
For whitebalance
Open the module and use the pipette-tool on the image of your light source - save as preset, name it after the light source.
For negadoctor:
Unexposed film:
- Under the “Film Properties"-tab
- Use the pipette for “color of the film base” on an unexposed area of a negative.
- do the same for “scan exposure bias”
- Under the “Corrections"-tab
- Use the pipette for “shadows color cast” on an unexposed area of a negative.
- Under the “Print properties"-tab
- Use the pipette for “paper black (density correction)” on an unexposed area of a negative.
Exposed film:
- Under the “Film Properties"-tab
- Use the pipette for “D max” on an exposed image, the complete image.
- Under the “Corrections"-tab
- Use the piptte for “highlights white balance” on an exposed image, the complete image.
- Under the “Print properties"-tab
- Use the piptte for “print exposure adjustment” on an exposed image, the complete image.
Save this as a preset - name it after the film-stock.
Now, applying these presets will be most of the work you need to do. The monochrome-module might come in handy, so might the exposure-module.